I made a motion-activated light controller for LED light strips. It's basically a fancy night light.
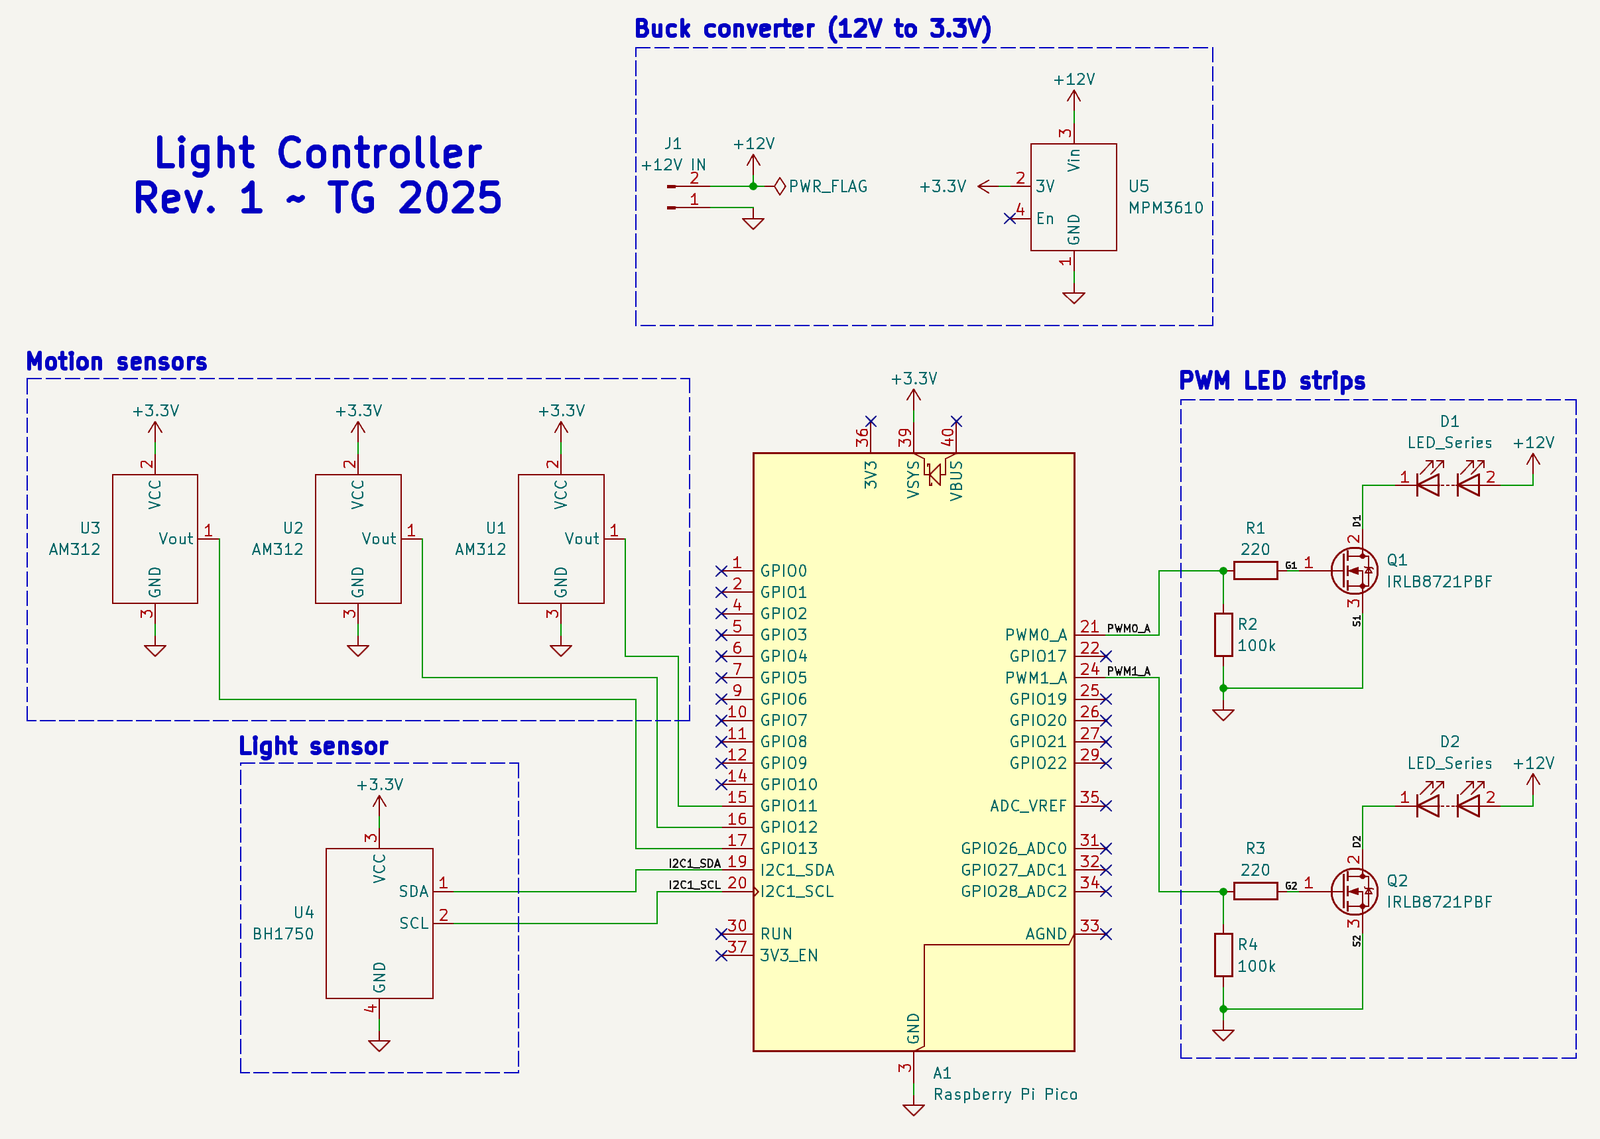
It allows up to two PIR motion sensors to trigger up to two LED light strips. If motion is detected and the room is dim, the light strips fade in to a low brightness. After enough time has passed without motion detected, the light strips fade out. This is suitable for dark closets, bedrooms, etc.
Software
- MicroPython
- KiCad
Hardware
- Raspberry Pi Pico (RP2040)
- analog white LED light strips
- MOSFETs
- buck converters
- PIR sensors
- I2C light sensor
- stage 1: breadboard
- stage 2: ElectroCookie protoboard
- stage 3: custom PCB
- JST XH connectors
- CAT5 Ethernet cable for distant PIR sensor
- plastic project box
Stages
Prototype - June 2022
I had done some basic projects with the Raspberry Pi Pico. When my closet fluorescent tube burned out, I needed something quick to replace it. I took a short (6") LED strip and plugged it directly into a breadboard with a Raspberry Pi Pico on it, connected a PIR motion sensor, and stuck it in the closet. I wrote some very simple MicroPython code to check for motion and fade the LED strip in or out as needed. It got the job done and the motion sensing was great but the little LED strip was too dim for long term use.
After about a month, I got a real LED strip (analog white), cut it up into 3 sections, and ran it along the tops of some shelves in the closet. I got a 12V to 5V buck converter so I could use a single power source for both the LED strip and the Pico, and a MOSFET module so I could drive the LED strip using the PWM output from the Pico. I also added an I2C light sensor so I could adjust the LED strip brightness depending on the brightness of the room. This setup worked well for almost a year.


Protoboard - April 2023
To get rid of the breadboard and clean the installation up a bit, I designed and built a simple protoboard layout. It consists of connectors for the Raspberry Pi Pico and the various modules. I got some JST XH connectors and a crimp tool and made some custom cables. Then I got a cheap plastic project box, scored and snapped off some bits of it to make holes for the wires, and put the protoboard in it. This setup continues to work well to this day.


Custom PCB - February 2025
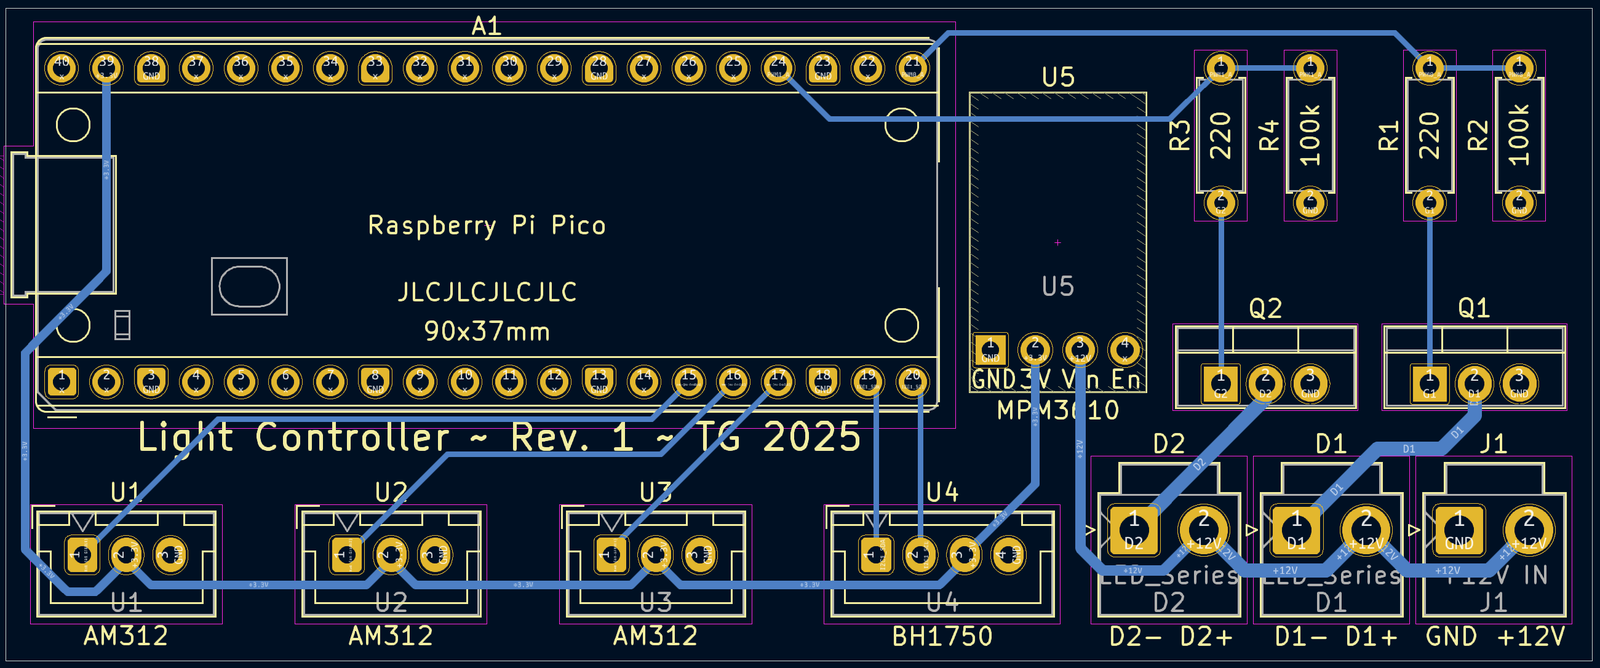
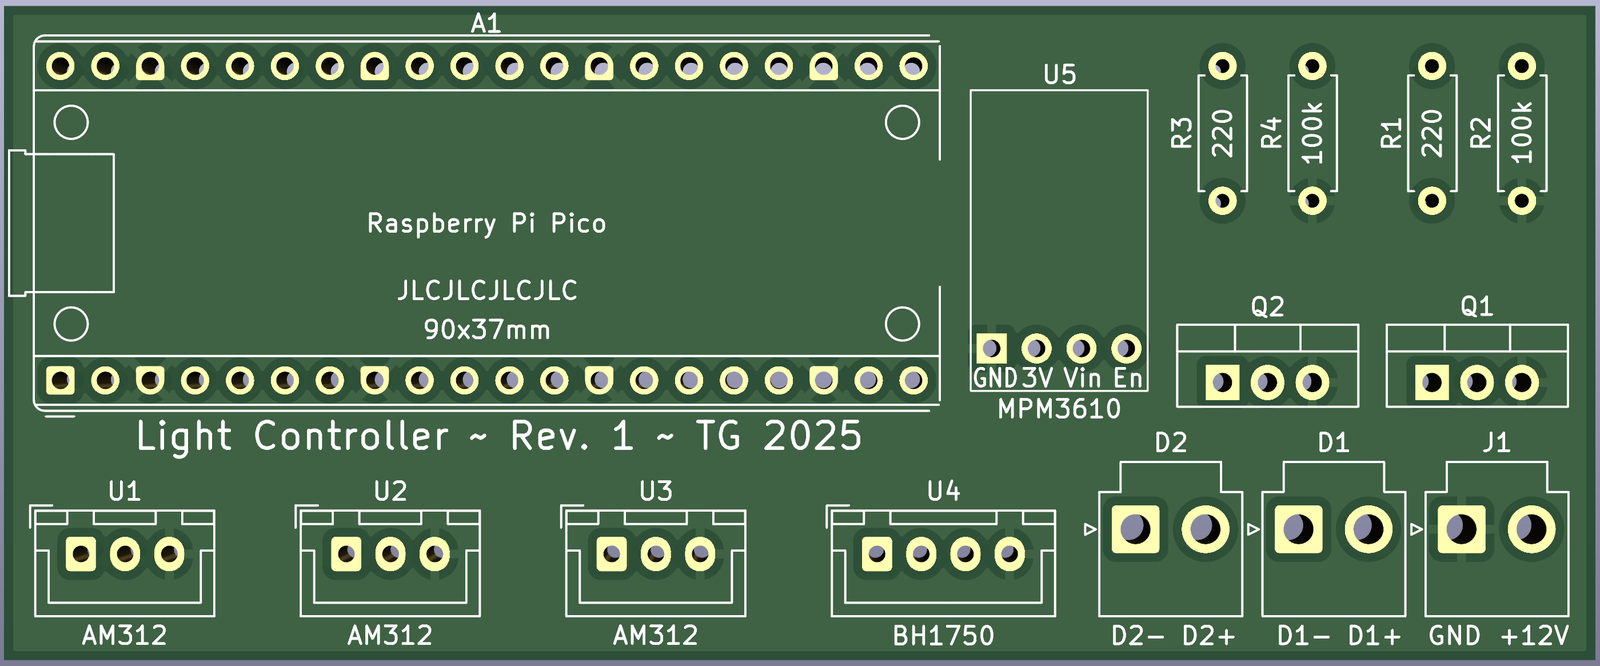
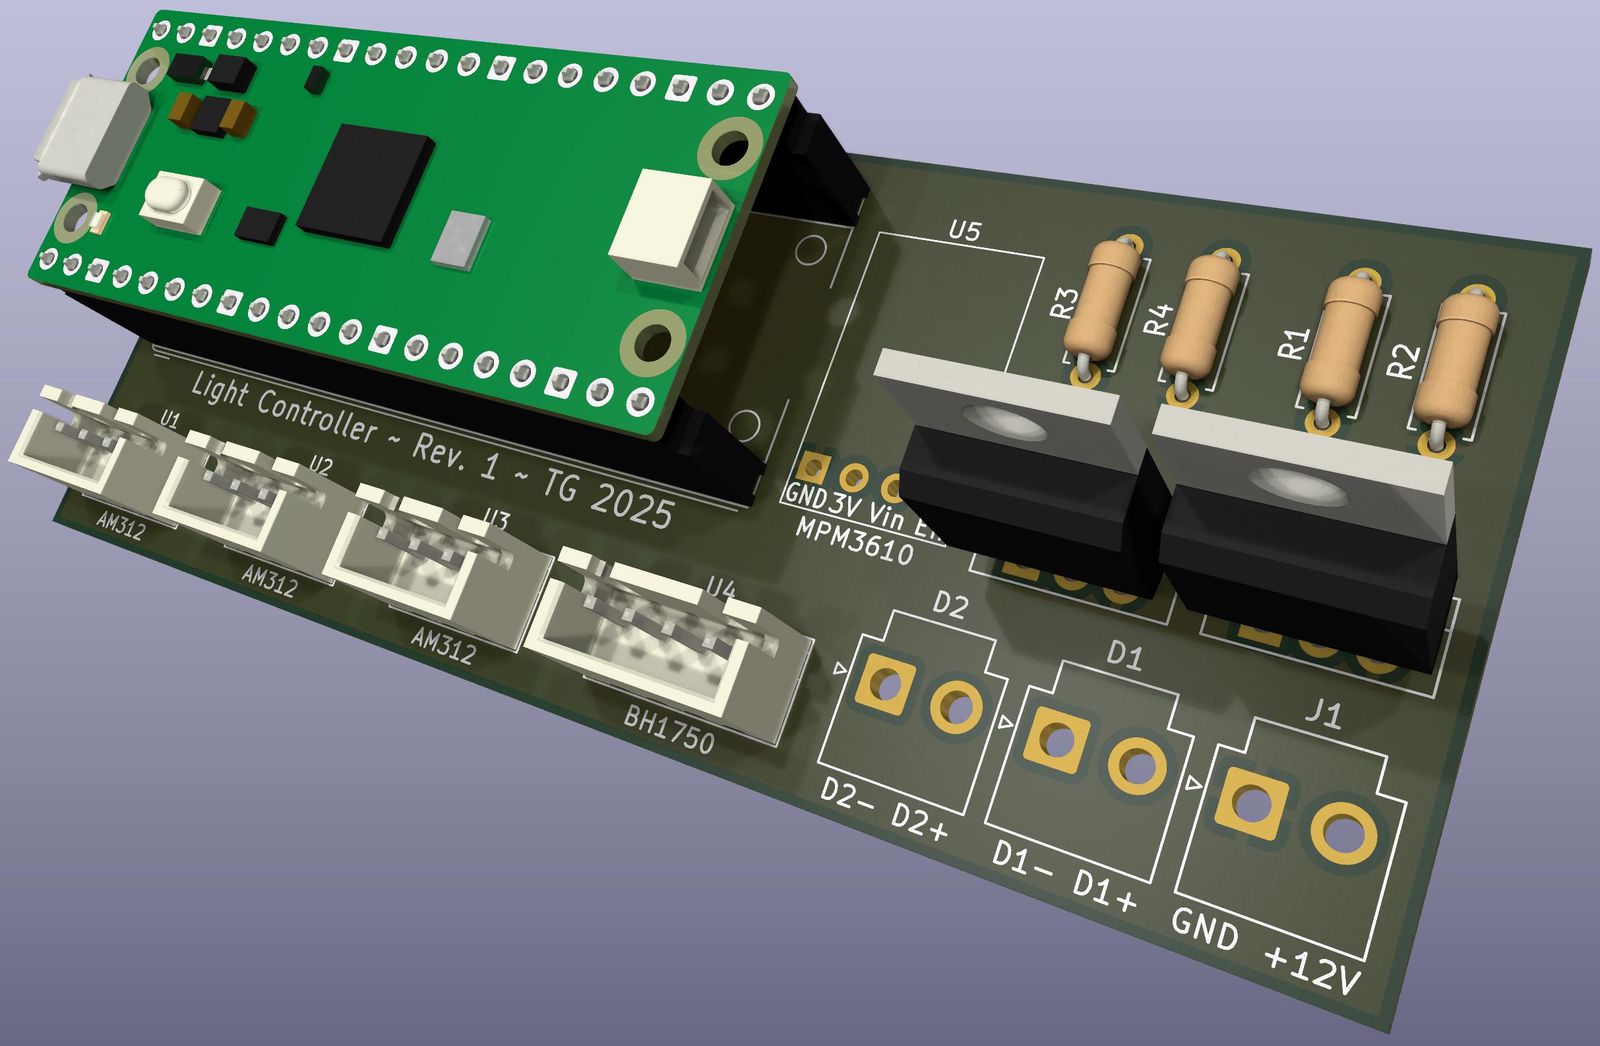
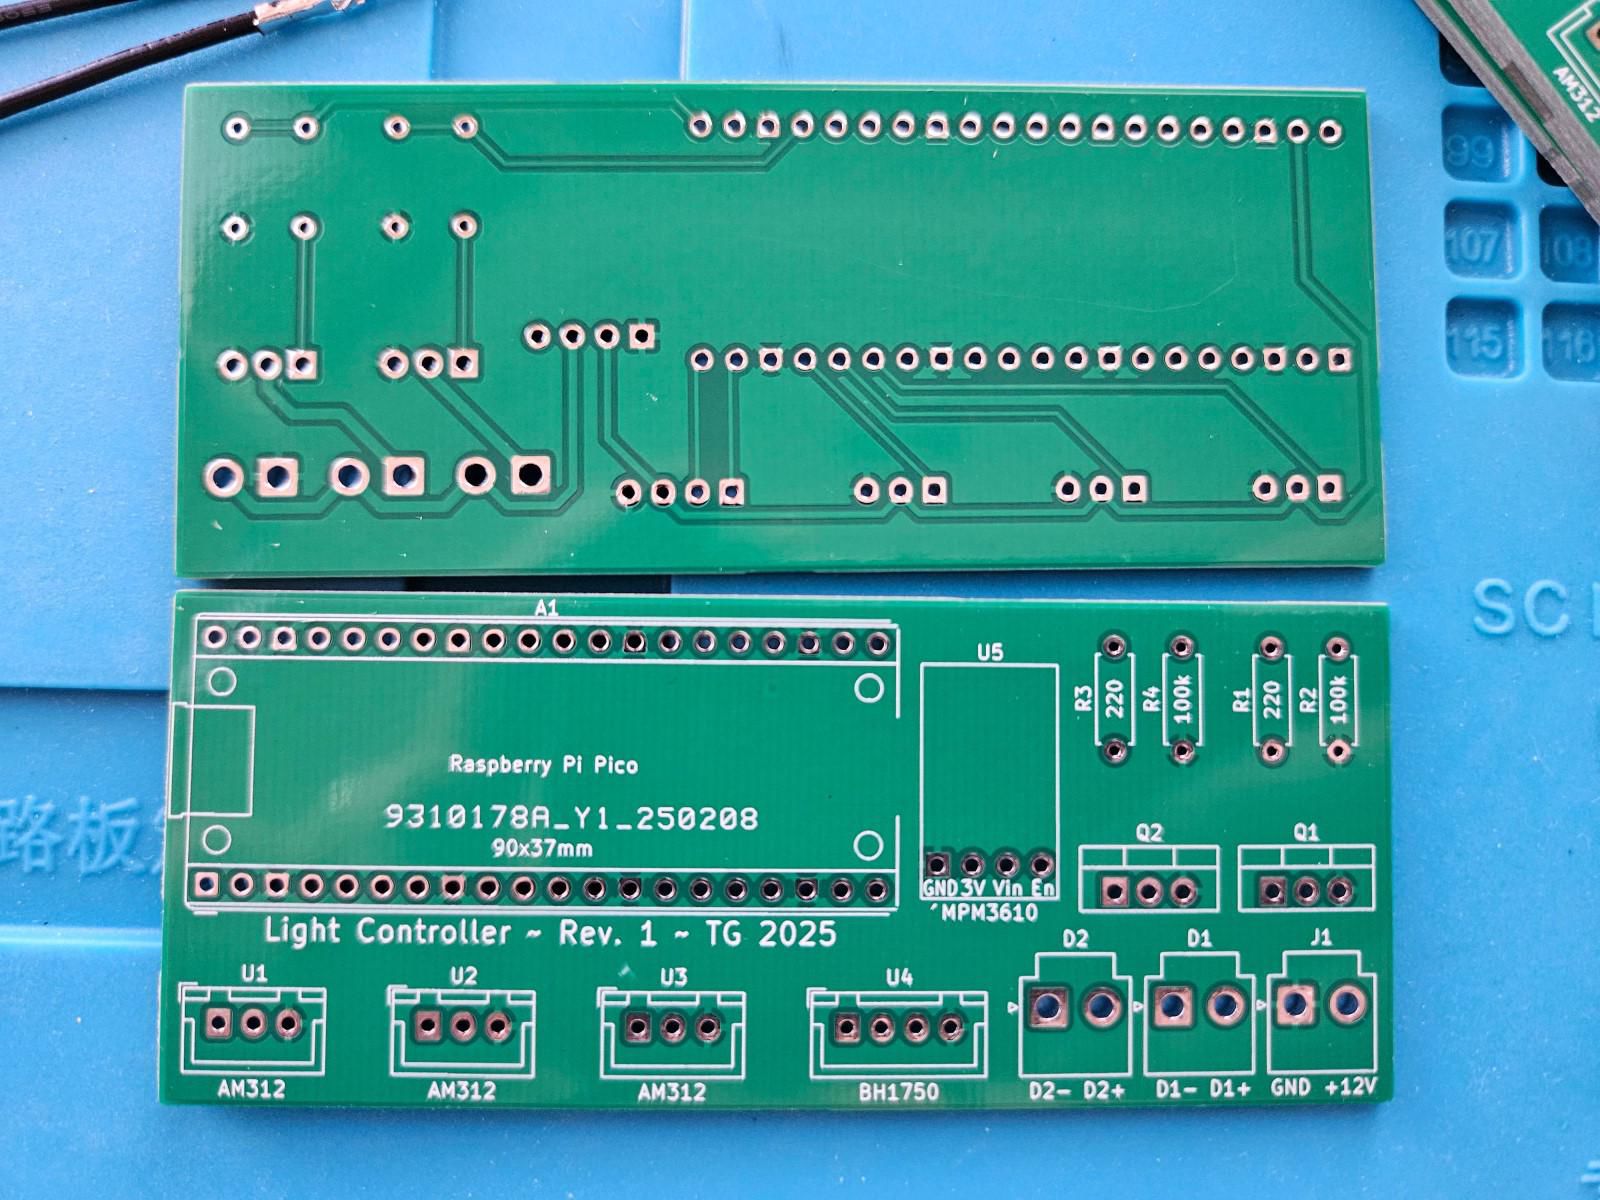
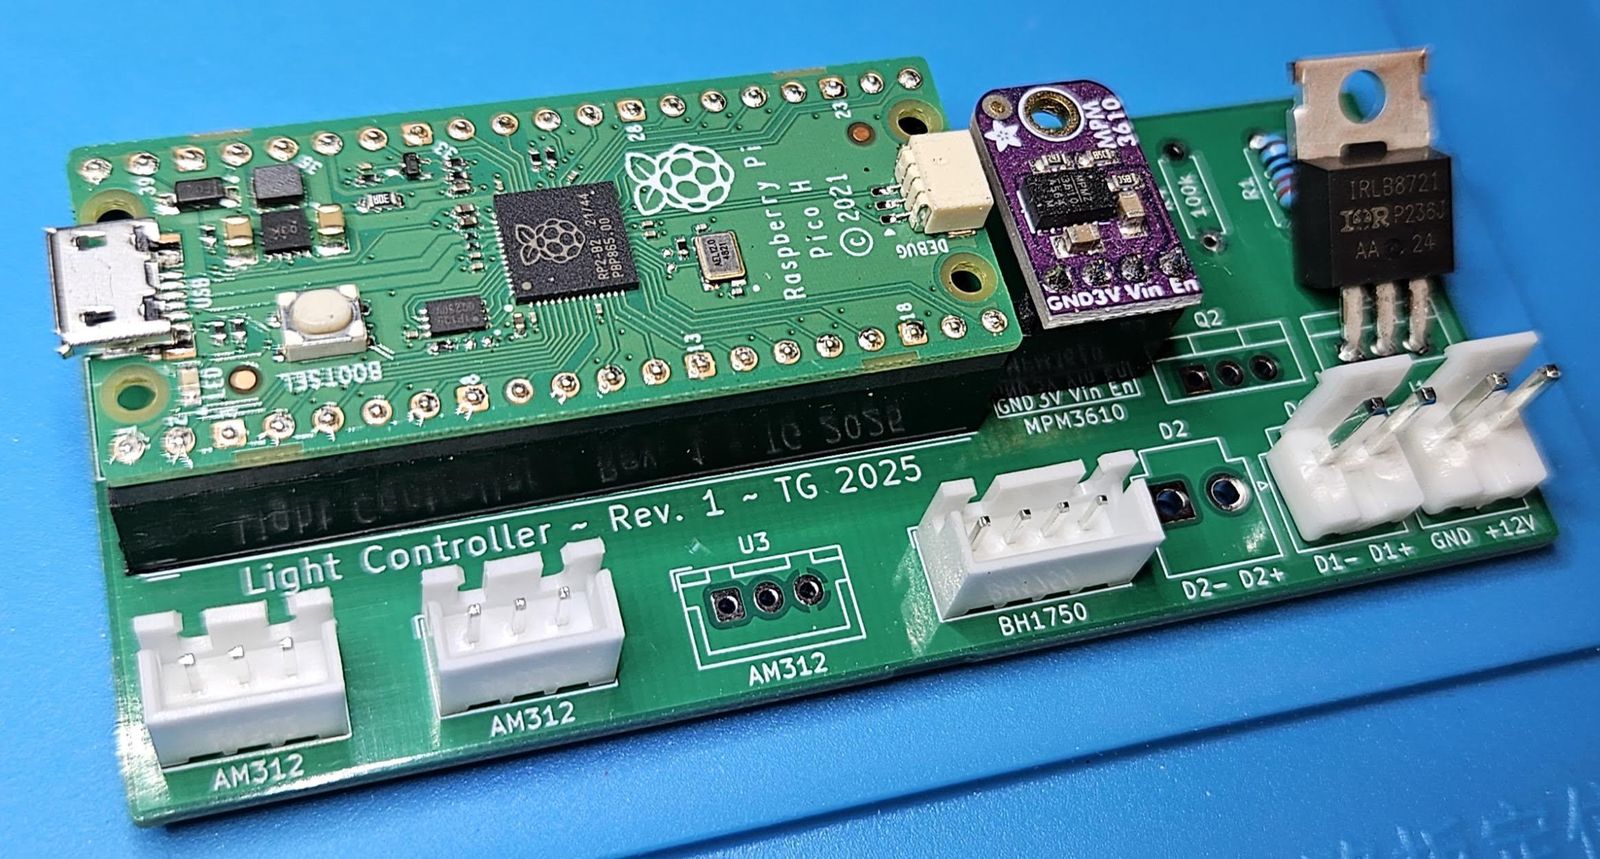
I wanted another instance of the project to go under the bed so I could safely walk around the room in complete darkness without slamming my foot into the bed. I decided to take the project to the next level by designing a custom PCB with a MOSFET directly on the board and a tiny buck converter module attached directly to the board. This would further clean up the installation with just one box with cables for power, LED strips, and motion and light sensors going into it.
I added a second motion sensor to properly cover the whole room. I ran CAT5 Ethernet cable around the periphery of the room to put the sensor where I wanted it and crimped some JST XH and Dupont connectors onto the ends.
I used KiCad 8 to make the custom PCB. This was my first experience with KiCad. I found some excellent tutorials on YouTube. After much fiddling, I sent the Gerber files to JLCPCB for manufacturing. 3 boards cost a total of $3.50 shipped in Feb. 2025. Crazy! The boards showed up in less than 2 weeks. I soldered all of the connectors and a few components, tested, and it worked on the first try. I realized some minor improvements I could make, e.g. to make the system easier to test, but nothing major.
Post-installation issues
Sensor connectivity - July 2026
The custom PCB setup worked for 18 months. Then, one day, one of the motion sensors stopped working.
I measured 3.27V at the non-working sensor, so it was getting power. I tried swapping the two motion sensor connections to the PCB and this swapped which motion sensor worked. This suggests the cause is a bad crimp, solder joint, or dead GPIO on the Pico. I still need to finish debugging and fixing this.